Overview
To allow other members from your organisation access the Safety Pool™ database you need to create a new user accounts for them.
This article guides you through adding a new user account.
How to add a new user
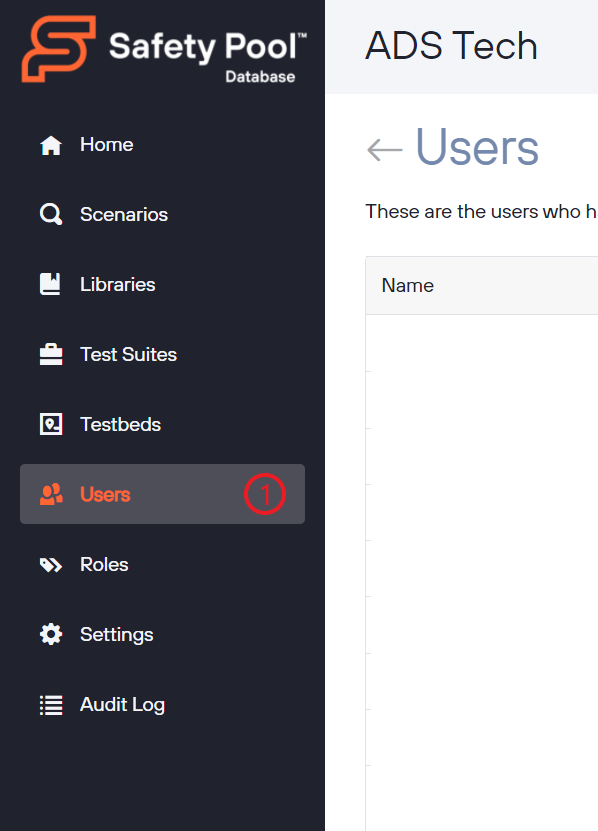
After having logged in to the database, click on ‘Users’ in the left menu panel, shown as (1) opposite. If you do not have this option then you do not have permission to add new users, in which case please contact the Administrator for your organisation who can either grant you permission to do this, or create the user for you. The Administrator for your organisation has this permission by default. |  |
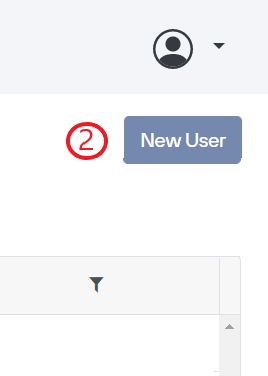
Then click the ‘New User’ button on the right, shown as (2) opposite. If you do not have this option then you do not have permission to add users, in which please contact your Administrator. |  |
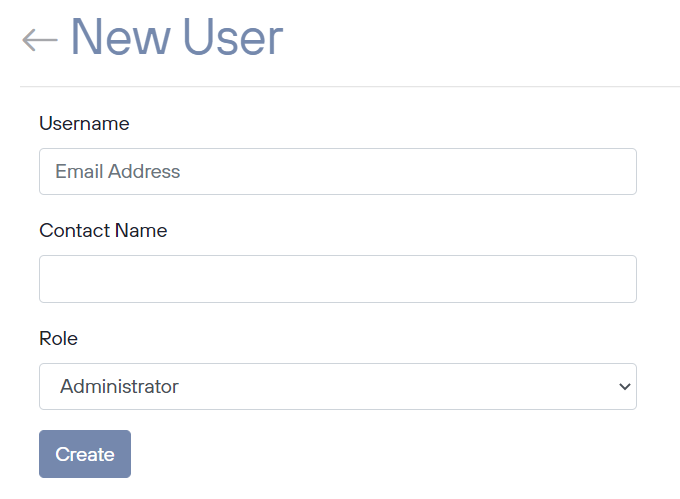
You will then be presented with the ‘New User’ form where you can enter the details for the new user. The email address you enter will become the username which the user will log in with and should be an email address associated with your organisation rather than a personal one. This address will be used to send an email to the user which will contain an activation link that they will need to click to setup a password and activate their account. When selecting a Role, you should select a role which grants the user sufficient permissions to do their job but no more than they need. (Please refer to the user guide article on adding Roles). |  |
Once you have entered the details, click ‘Create’. This will then send out the activation email to the user containing the activation link, and you will then be returned to the Users list where you should see the new user in the list with their status on ‘Waiting Activation’.
If the user reports that they have not received the email, please ask them to check their Spam folder in case it has ended up in there.
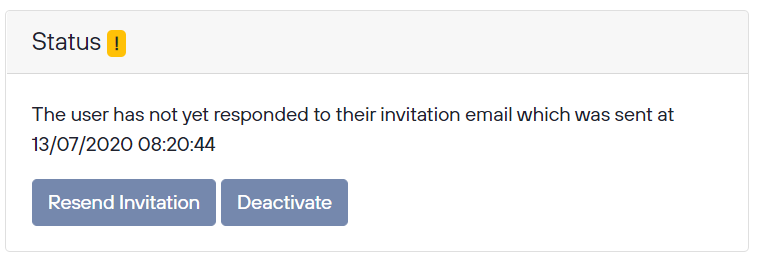
The activation link in the email expires 24 hours after having been sent. If the user does not activate their account before the link expires, then you can simply resend the email by clicking View on the user in the Users list, and then clicking the ‘Resend Invitation’ button, as below.

Once the user has successfully activated their account, their status on the User list will go to ‘Active’.