You can create new scenarios in the database, either for exclusive use by your organisation, or for wider publication and use by the Safety Pool community.
To create a new scenario, start off by going into one of your own libraries in which you want the scenario to be kept, and then click the 'New Scenario' button. If the button is not present, it could mean that you do not have permission to create new scenarios in which case contact the system administrator for your organisation, or that the library is not one in which you are allowed to add scenarios.
 Private library
You will then see the new scenario template dialog from which you can choose a template to base your scenario on.
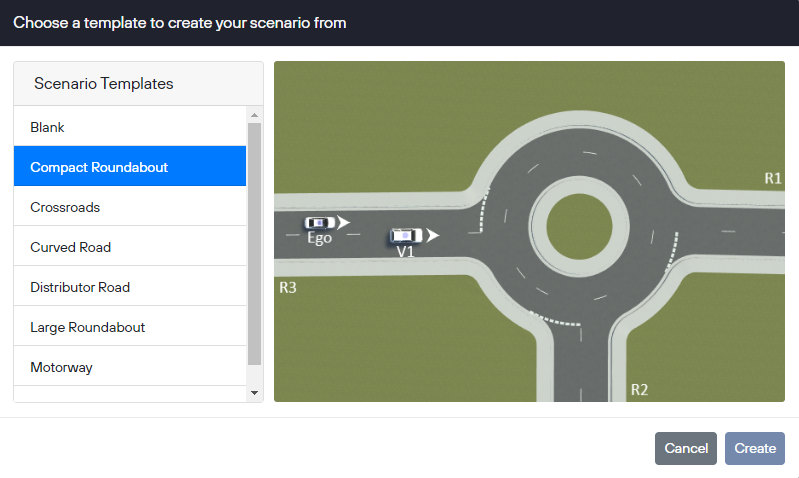 New Scenario template dialog Creating a blank scenario
To create a scenario entirely from scratch, select the 'Blank' template.
Creating a scenario from a pre-built template
A quicker option is to create a scenario from one of the pre-built templates. The templates include an SDL definition of the scenario which can be edited and the corresponding set of ODD tags.
Creating a scenario from an existing one
If you want to create a scenario based on an existing scenario then you can do this by creating a copy of an existing scenario. To do this, view the existing scenario that you want to copy and then click the Copy button - this will then create a new scenario with the same details as the existing scenario but it will not be connected to the existing scenario.
Note that you can create copies of scenarios in public libraries but the copies will be made in one of your own private libraries.
Entering the scenario details
Whichever method you have used for creating the new scenario, you will then be shown the scenario editor where you can enter the details for the scenario - remember to click the 'Save' button to make sure that the details are saved before you leave the scenario editor. The scenario will be saved in a Draft state which will allow you to edit the scenario as many times as you like until you choose to make it active - see below for Activating the scenario. To edit a scenario, view the scenario and then click the 'Edit' button.
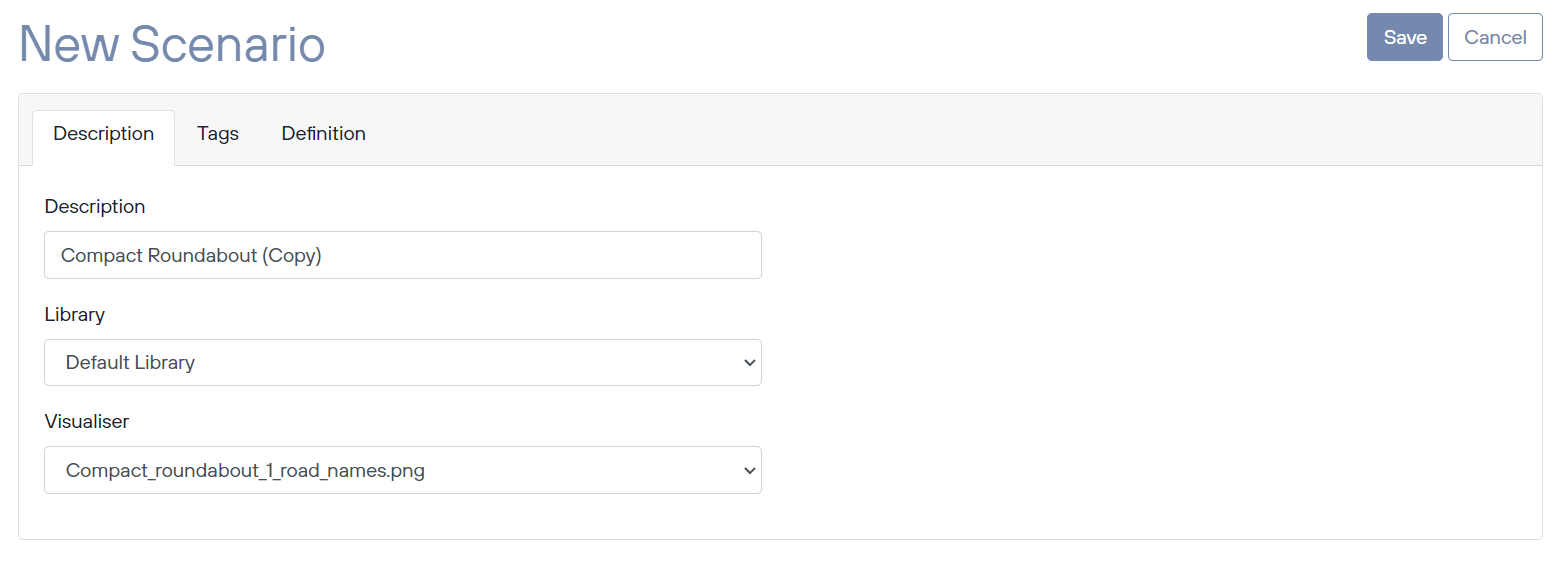 New Scenario editor
Scenario Description
The description should be a short but descriptive title for the scenario and should contain enough detail to help someone identify the scenario and help determine whether it would be relevant to their needs.
Selecting Tags
The tags that you add to a scenario are very important as they are the means by which scenarios are searched for, so the effectiveness of searching depends on the quality of your tagging.
To add tags to a scenario, expand the Available Tags tree and click on the tags that you want to add - they will then appear in the Selected Tags section.
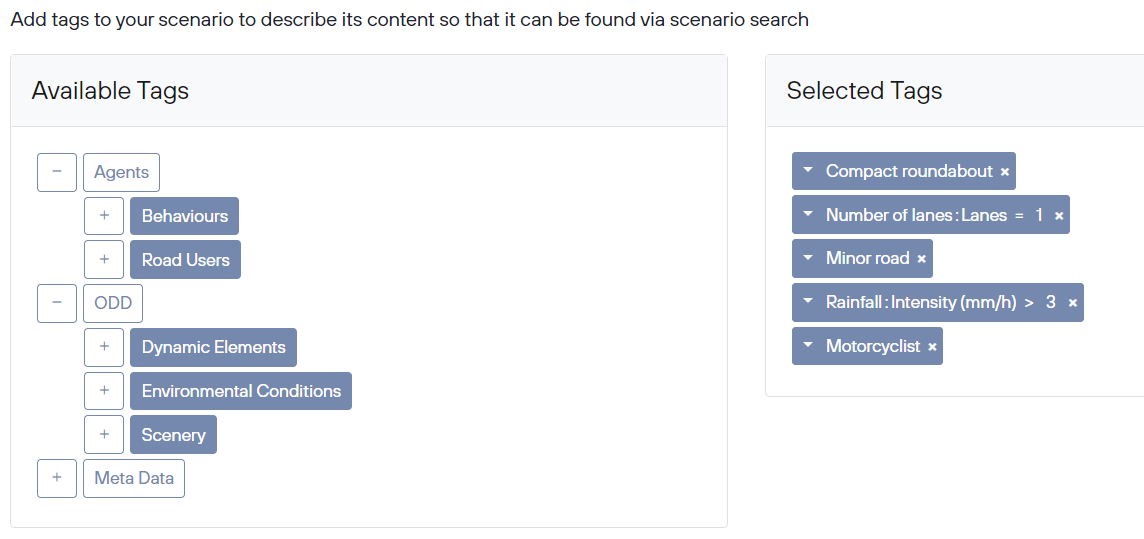 Scenario tag editor
When creating a blank scenario, there maybe some tags already in the Selected Tags section - these will be mandatory tags which must be present on scenarios and cannot be removed.
Tags that can have a value specified will have a default value set - to change the value simply click on it and an editor will appear which will let you enter a new value. The default comparison operator is '=' and can be changed by clicking on it and selecting a different one from the list.
Scenario Definition
Every scenario requires a definition. The definition can be provided using WMG's SDL Level 2 language or using OpenScenario 1.x. If the scenario has been created from one of the built-in templates then the definition will have been pre-populated with an SDL definition, otherwise you must select what type of definition you want for the scenario and then add it to the scenario.
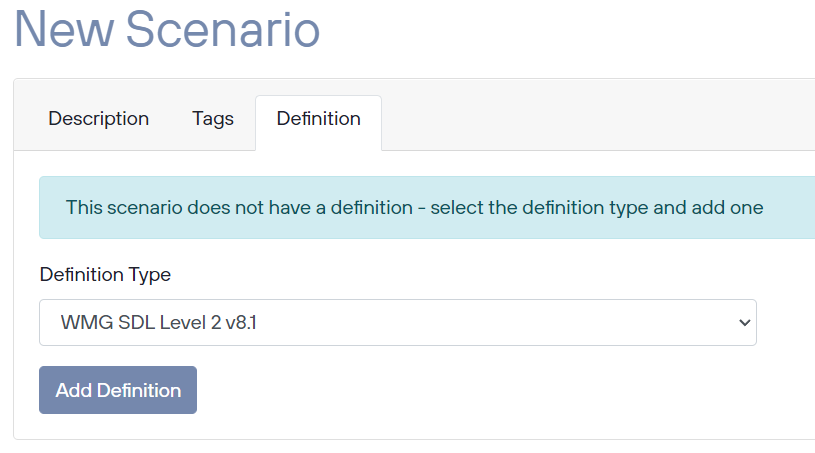 Add scenario definition
When using an SDL definition, you can edit the definition within Safety Pool and take advantage of the built-in validation checker. Clicking the 'Validate' button will check the SDL to make sure that is it valid and will tell you about any errors which have been found.
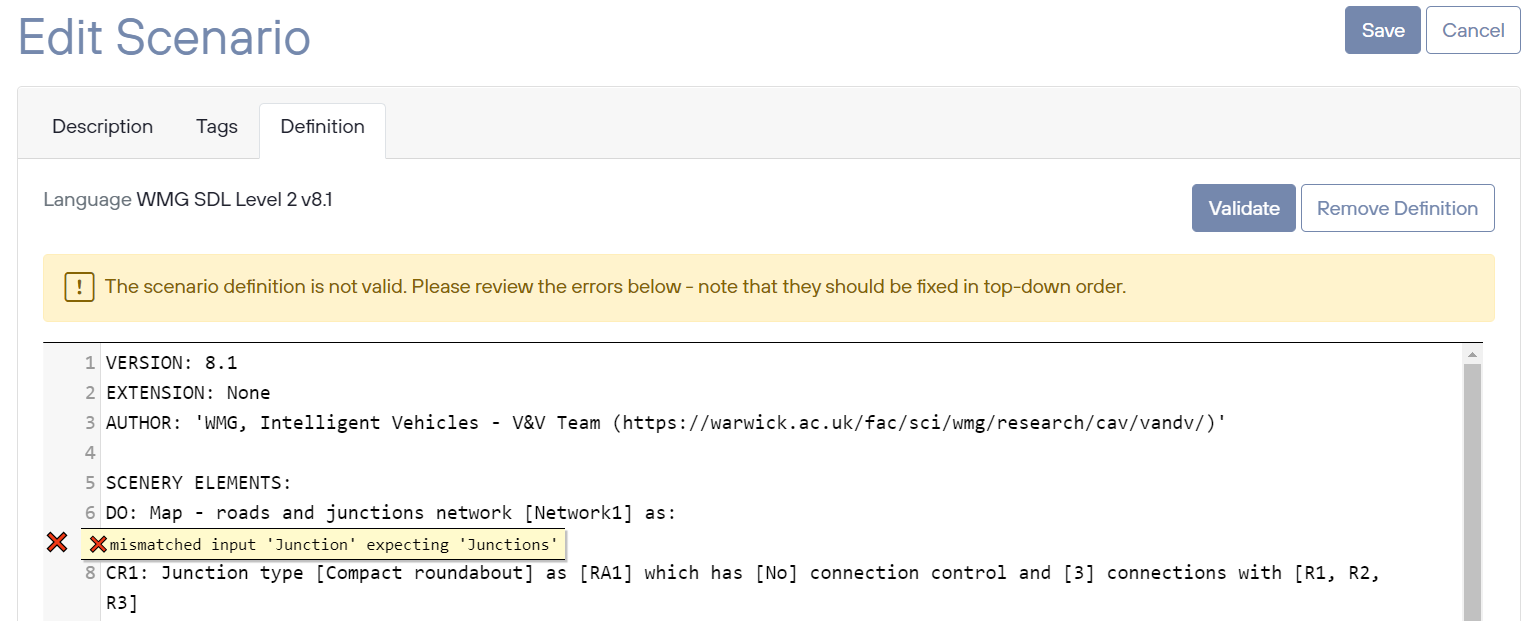 Scenario Definition editor
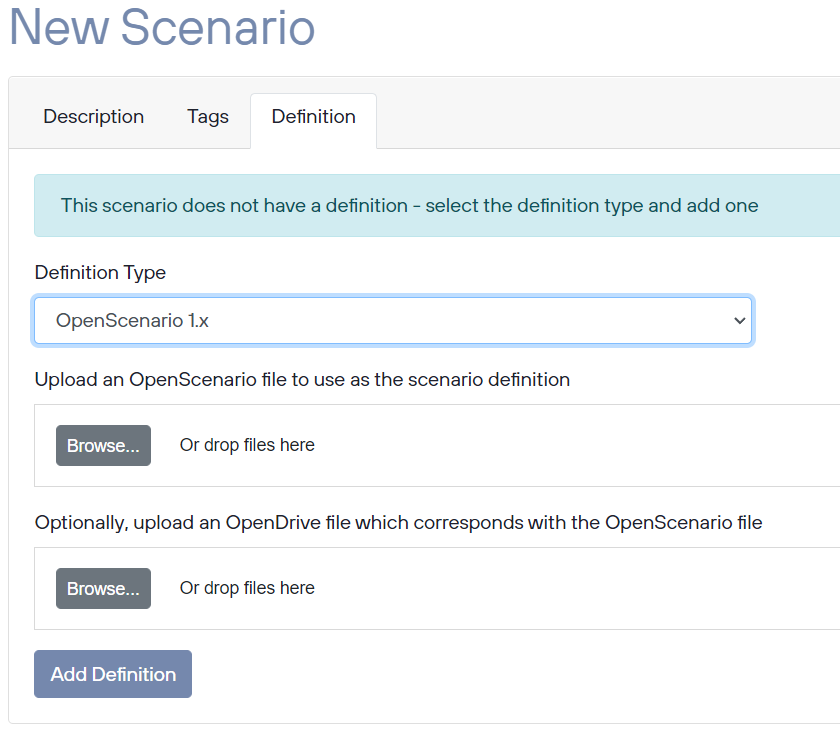 Adding an OpenScenario definition
Activating the scenario
Whilst you are in the process of creating a scenario, the status of the scenario is at 'Draft' which indicates to other users that the scenario is still being worked on and is not ready to be used yet.
When you are ready for the scenario to be used, it needs to be activated - click here for instructions on how to do this.